
Discover essential tips and techniques for safely and efficiently removing popcorn ceilings, enhancing both the value and aesthetics of your home.
Get Professional Help for Popcorn Ceiling Removal in Dallas, Texas
When tackling a popcorn ceiling removal project in Dallas, Texas, it is highly recommended to seek professional assistance. Professionals are equipped with the necessary tools, experience, and knowledge of local building codes to ensure the job is done safely and effectively. They can also handle the testing and abatement of any asbestos, which is a common concern with older popcorn ceilings.
Choosing a reputable contractor will also guarantee that the process is completed within a reasonable timeframe and with minimal disruption to your daily life. This is particularly important in regions like Dallas where specific regulations may govern the disposal of the ceiling material.
Understanding the Popcorn Ceiling: Why Removal Makes Sense
Popcorn ceilings, once a popular trend for their acoustic dampening qualities and ease of application, have fallen out of favor due to their dated appearance and potential health risks. Removing popcorn texture can modernize the look of your home, increase its value, and eliminate the risk of asbestos exposure if present in the material.
Moreover, popcorn ceilings are known to harbor dust and allergens, making them difficult to clean. Removal can lead to improved indoor air quality and create a smoother surface that's easier to maintain.
Preparation is Key: What You Need Before You Start
Proper preparation is crucial for a successful popcorn ceiling removal. Begin by clearing the room of furniture and covering floors and walls with plastic sheeting to protect against debris. Gather all necessary tools and materials such as a ladder, scraper, spray bottle, protective gear, and joint compound for post-removal repairs.
If you're doing the removal yourself, it's also essential to arrange for asbestos testing before proceeding, especially if your home was built before the 1980s. Never skip this step, as disturbing asbestos-containing materials without proper precautions can be hazardous.
Safety Tips and Best Practices During Removal
Your safety should be the top priority during popcorn ceiling removal. Wear protective clothing, eye protection, and a respirator to prevent inhalation of dust or asbestos fibers. Work in small sections and keep the texture wet to minimize dust. Always follow the manufacturer's instructions for any tools or products used during the process.
Additionally, ensure good ventilation in the work area and take regular breaks to avoid overexertion. Be mindful of electrical fixtures and potential hazards such as uneven floors or working at heights.
Step-by-Step Guide to Removing Popcorn Ceilings
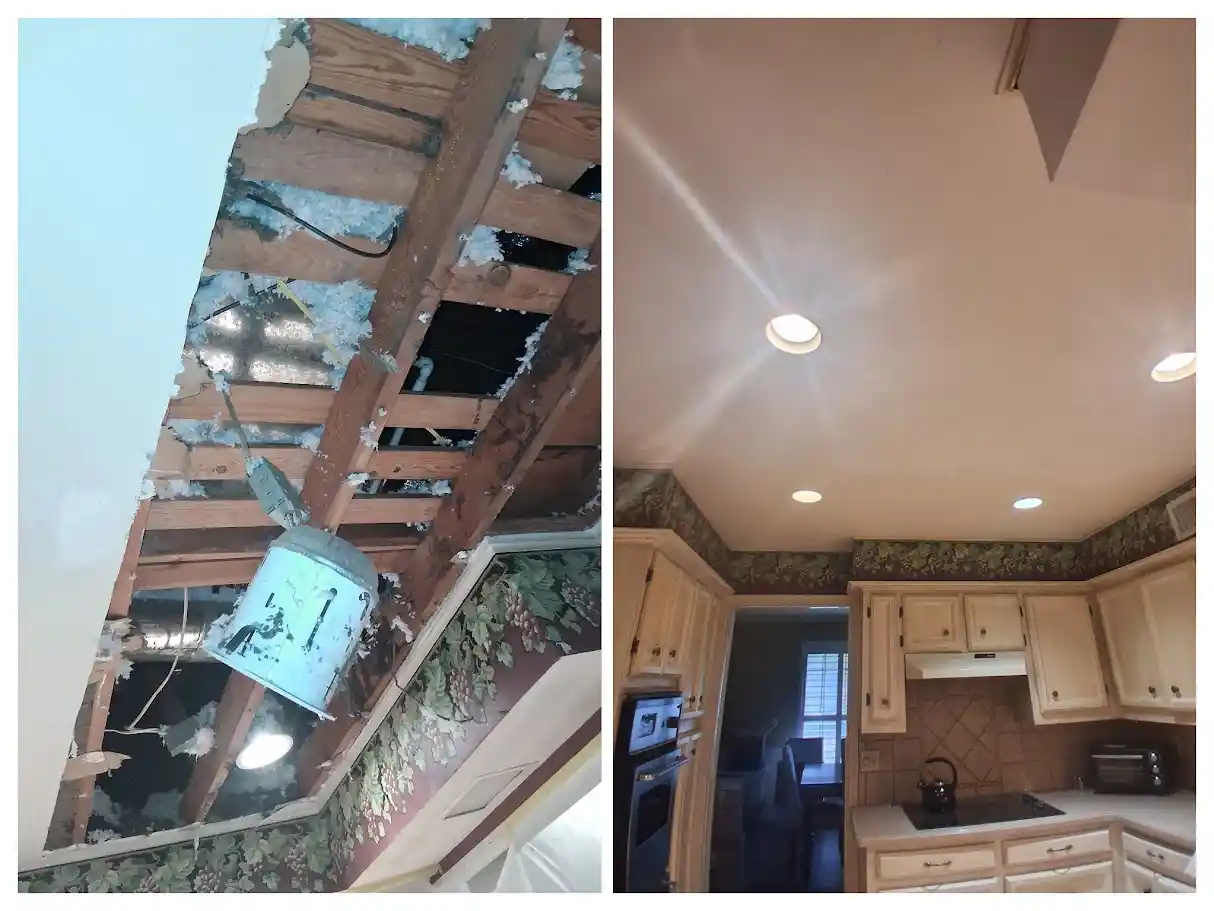
Removing popcorn ceilings involves a step-by-step process that begins with testing for asbestos and preparing the room. Once you've established a safe work environment, wet the ceiling with a water and vinegar solution to soften the texture. Use a wide scraper to gently remove the popcorn material, being careful not to gouge the drywall underneath.
After the texture has been removed, patch any imperfections with joint compound and sand the ceiling smooth. This creates a clean slate for painting or applying a new texture if desired.
After the Removal: Finishing Touches and Ceiling Options
Once the popcorn texture is removed, and the ceiling is smoothed out, consider your finishing options. You may choose to paint the ceiling for a fresh, clean look or apply a different texture that's more modern and easier to clean.
For those seeking an alternative to traditional flat ceilings, consider installing decorative tiles, wood panels, or even a coffered ceiling for added architectural interest. Whatever your choice, make sure it aligns with the overall aesthetic of your home and provides the benefits you're looking for post-removal.