

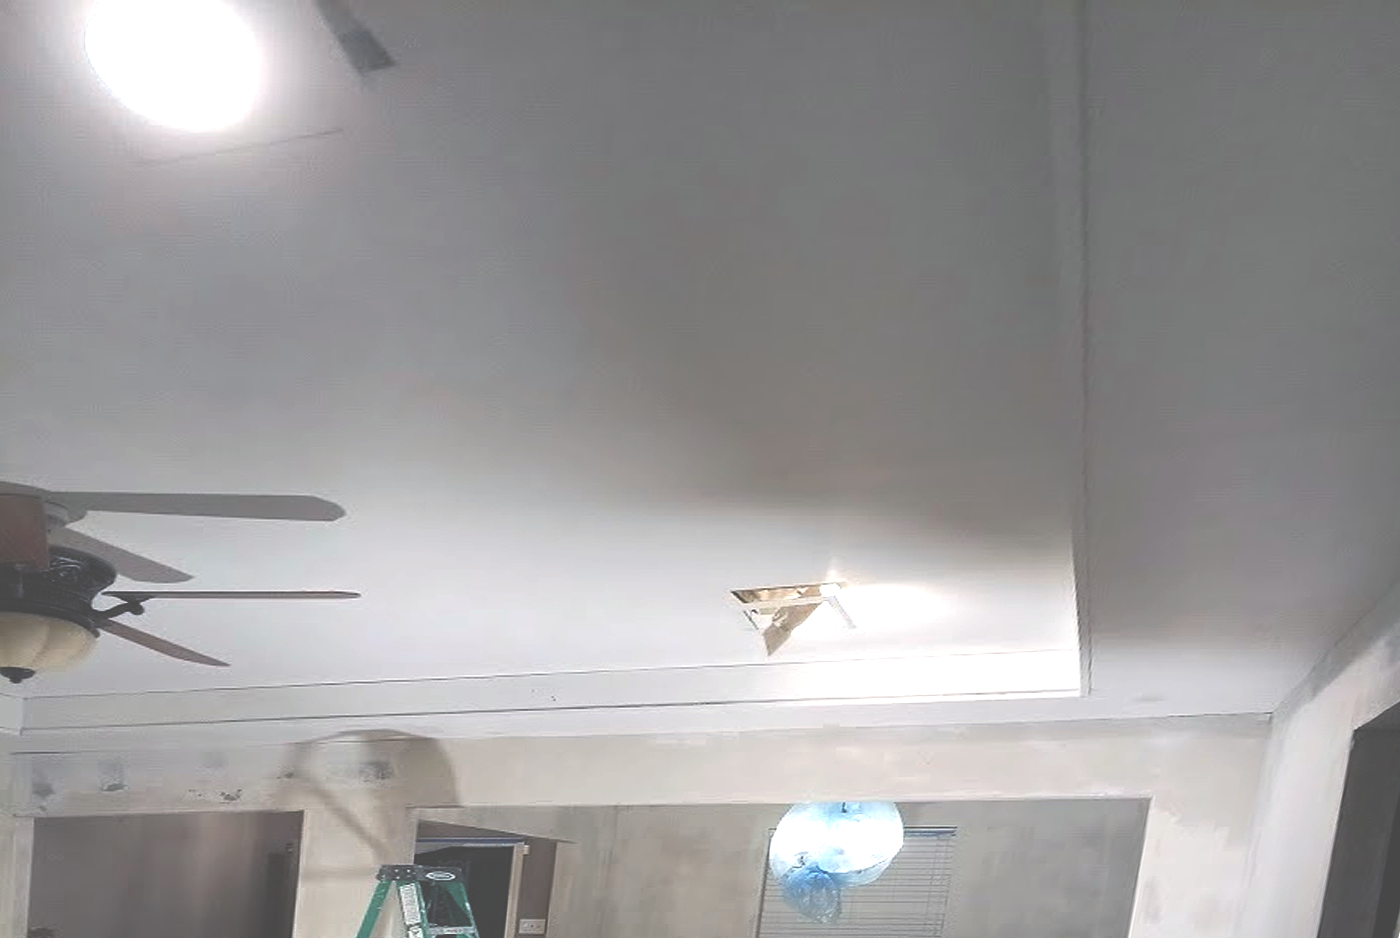
Popcorn Ceiling Removal
Best Tips for Removing a Popcorn Ceiling (Without the Hassle)
Thinking of tackling that outdated popcorn ceiling? Here's everything you need to know to get the job done safely and effectively.

2. Gather the Right Tools and Prep the Room
Prepping is key to making this process as smooth as possible. Here's a quick checklist:
- Cover floors and furniture with plastic sheets. Popcorn ceiling debris can get messy.
- Gather tools: A sprayer, putty knife, scraper, safety goggles, gloves, and a mask are essential for a safe removal process.
3. Soften the Ceiling Texture with Water
Water is your best friend here. Lightly mist the ceiling with a spray bottle to soften the texture, making it easier to scrape off. Wait about 15 minutes, then start scraping. Tip: Be careful not to over-wet; too much water can damage the drywall underneath.
4. Use the Right Scraping Technique
Gently scrape at a 30-degree angle to avoid gouging the ceiling. Take your time; it’s better to go slowly than to repair mistakes later.
5. Clean Up and Smooth Out the Surface
Once the texture is removed, inspect the ceiling for imperfections. Use a joint compound to patch any nicks, then sand smooth. This step will make all the difference in achieving a clean, updated look.
6. Choose Your Finish
Now that you have a smooth surface, the options are endless. You can paint, add a knockdown texture, or even install decorative tiles for a more modern look.